
Epoxy Flooring 101: Step-by-Step Installation and Minimizing Downtime
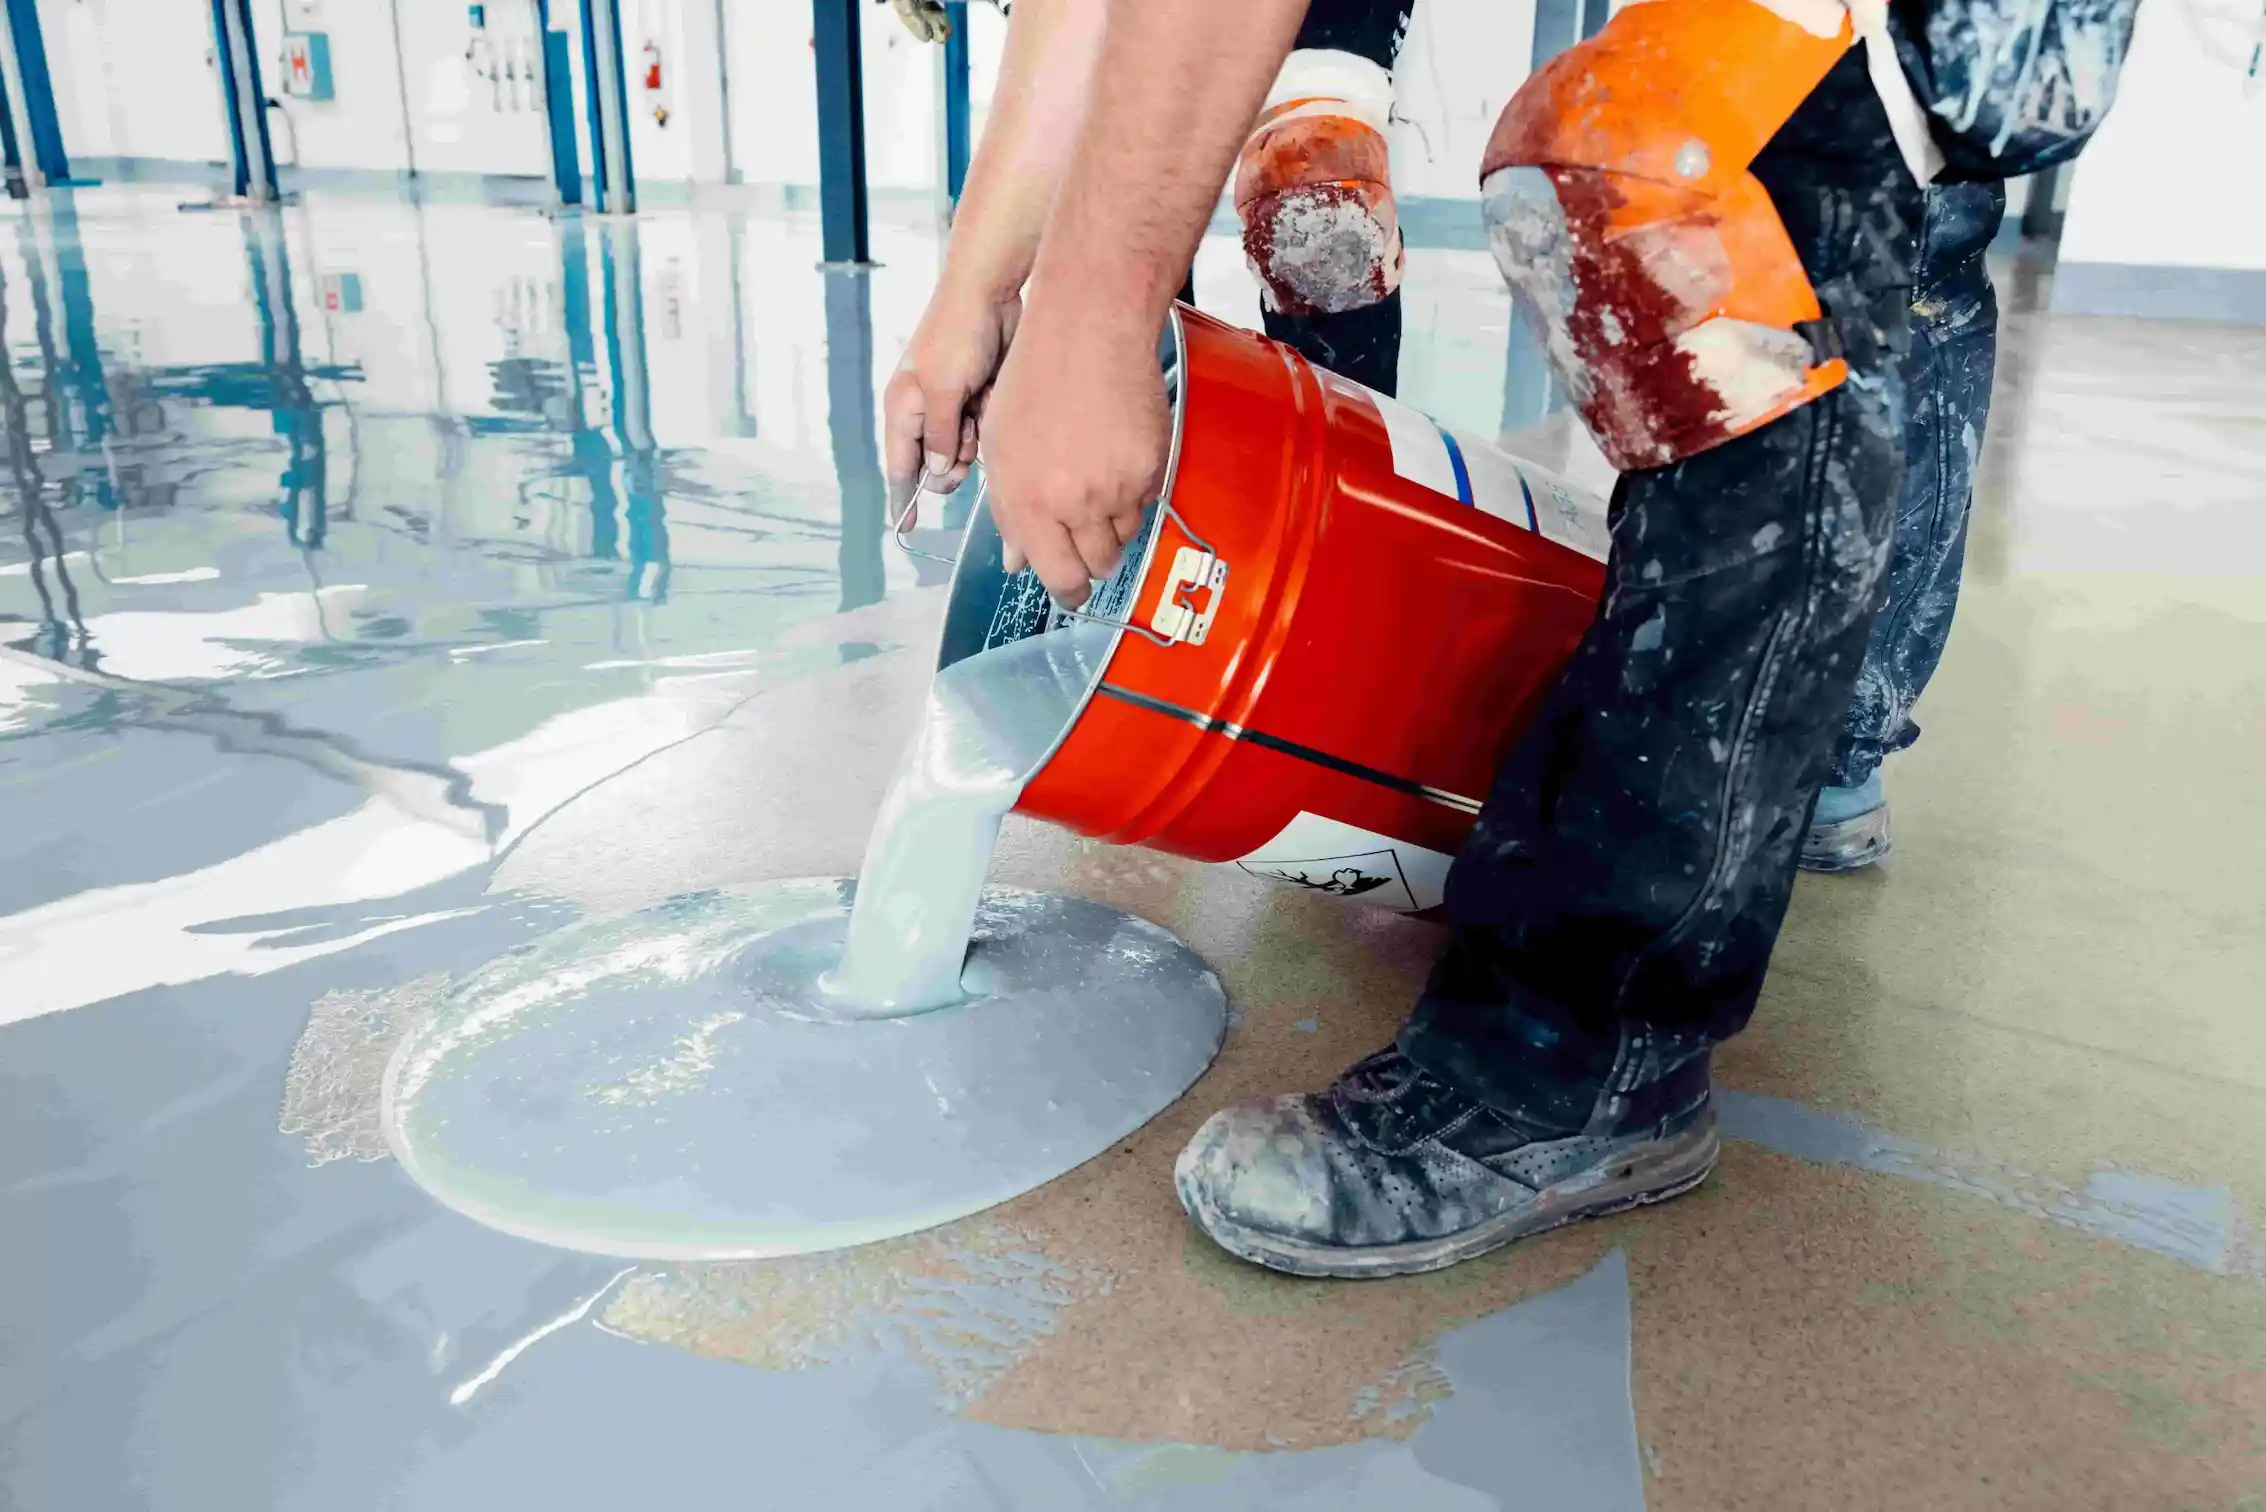
For warehouses, manufacturing plants, healthcare facilities, retail spaces, and commercial buildings, epoxy flooring offers a durable, seamless surface that stands up to chemicals, spills, and daily traffic. Once business owners and facility managers determine that epoxy flooring is the right choice, the next step is learning how the installation process works and how to complete the projects without creating major disruptions to operations.
With the right planning, installation strategy, and experienced epoxy flooring contractor, businesses can upgrade their concrete floors while keeping downtime to a minimum.
How Epoxy Flooring is Installed
Epoxy flooring creates a hard-wearing, nonporous surface that is easier to clean and maintain than bare concrete. It can improve light reflectivity, resist oils and chemicals, reduce dust, and support a cleaner, more professional appearance in your building or facility.
In high-traffic environments, a professionally installed epoxy floor helps protect the concrete beneath it, which reduces long-term maintenance costs and extends the life of the floor. That’s why examining and prepping the substrate is a crucial first step to any high-quality epoxy flooring installation.
- Prepare the surface
Before epoxy can be applied, the concrete is inspected for cracks, holes, moisture issues, remnants of previous coatings, or any other imperfections. Creating an ideal surface for epoxy adhesion ensures a smooth foundation that reduces the risk of air bubbles, pinholes, or delamination in the finished floor.
Mechanical grinding or shot blasting is often used to remove contaminants, open the pores of the concrete, and create the right surface profile for adhesion. Damaged areas are repaired, cracks are filled, and dust and debris are removed.
- Apply the epoxy
Once the floor is prepped, the epoxy resin is mixed with a hardener or curing agent before it is applied to the substrate.
Depending on the desired finished look, your epoxy contractor may add decorative flakes, quartz, or slip-resistant aggregate to improve aesthetics, traction, and wear performance. Techniques like roller or trowel application and squeegee spreading may also be used, depending on the environment, substrate condition, and thickness preferred. Facilities may integrate color coding or safety markings to allow for easier regulatory compliance.
- Allow proper curing
After installation, the epoxy floor needs time to cure. The epoxy resin and curing agent require time to form solid cross-linked polymer chains and a durable, solid surface.
Light foot traffic may be possible within a day in some applications, but heavier traffic, forklifts, equipment, and full chemical exposure must wait for a few days. Temperature, humidity, ventilation, and the thickness of the epoxy affect the overall cure time, which can extend the full installation time to a week or more depending on the size of the project.
How to Minimize Downtime and Protect Productivity
To achieve minimal disruption to daily operations, preparation and planning must begin long before the epoxy flooring contractor arrives at your building or facility. The most successful commercial epoxy projects are planned around the way the business or facility operates:
- Phase the project by zone: Large facilities rarely need to shut down the entire building at once. Divide the floor into sections to allow flooring work to move forward while other zones remain open and productive.
- Select the right design: Extra elements and coats can increase curing time. Consider what would be nice to have versus what is needed for your business to remain in operation during the installation process.
- Clear the work area in advance: Moving inventory and equipment well before the flooring contractor arrives helps avoid preventable delays and keeps the project on schedule.
- Communicate with all departments: Let teams know which areas will be closed, when foot traffic can resume, and what temporary routes will be available during the installation.
- Don’t rush the process: Cutting corners by bringing equipment onto recently installed epoxy floors too soon may seem like a time-saver, but failed coatings create much bigger disruptions later. Patience is key for long-term quality and performance.
Keep Realistic Expectations
Every epoxy flooring project has its own schedule based on square footage, substrate condition, coating thickness, environmental conditions, and more. Set aside 2-3 days for surface preparation, 3-4 days for application, and 2-3 days for curing. The full process may take a week or more, which makes planning crucial to ensure operations can continue without rushing or risking the epoxy curing process.
Choosing an Experienced and Skilled Epoxy Flooring Contractor
Epoxy flooring installation is a detailed process that depends on expert surface preparation, careful application, and disciplined curing. Choosing the right epoxy flooring company is crucial, especially when it comes to USDA-compliant flooring for food and beverage production facilities. When the right contractor plans and executes the project correctly, businesses won’t have to choose between upgrading their floors and maintaining efficiency.
Concrete Polishing & Epoxy Florida specializes in installing seamless, slip-resistant floors for commercial and industrial buildings and facilities. Our attention to detail, exceptional service, and knowledgeable team makes the process easy and stress-free from start to finish. Contact us today to get a free, no-obligation estimate and learn why local businesses trust Concrete Polishing & Epoxy Florida with all their flooring needs.
Recent Posts