Garage Floor Epoxy Service vs. DIY: Which Is Better?
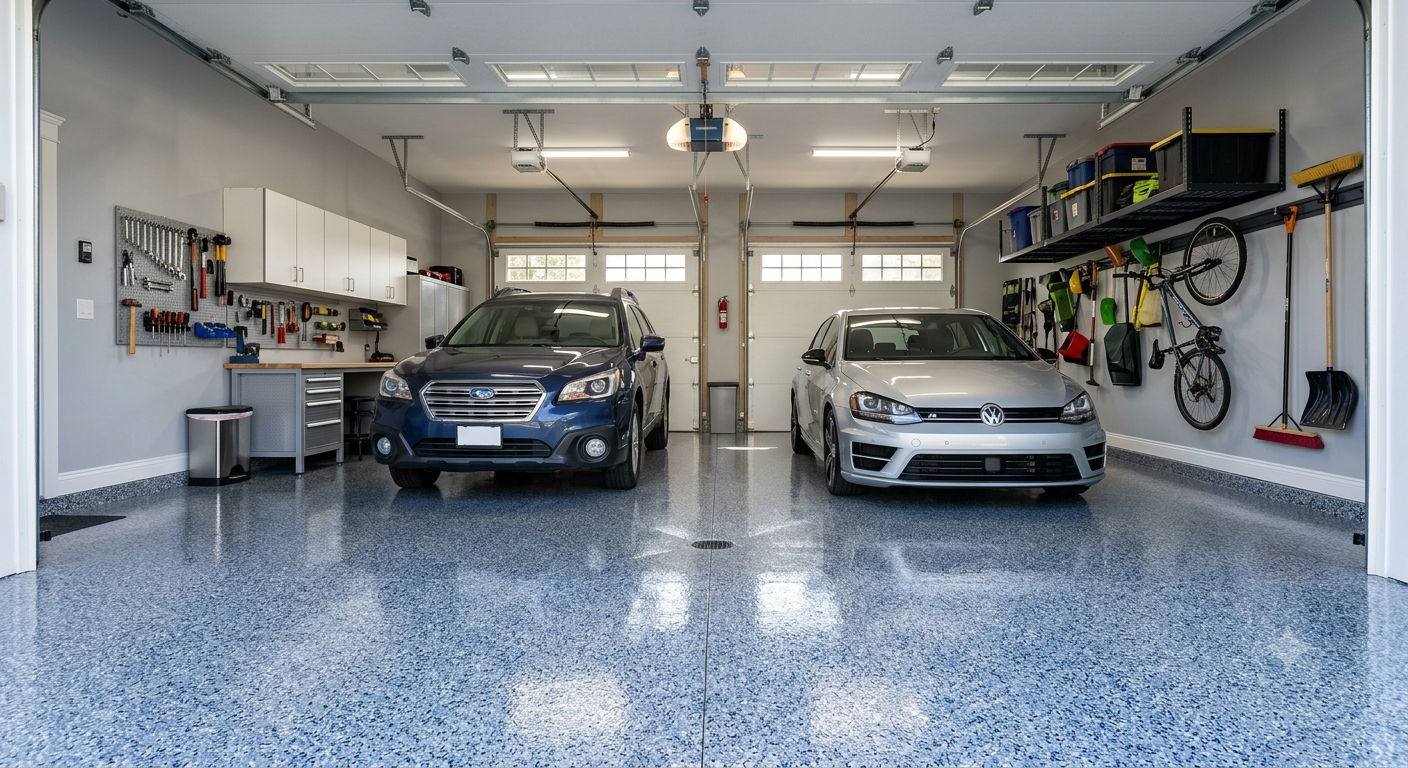
Your garage floor takes a beating every single day from hot tires, leaked engine oil, road salt, dropped tools, and heavy foot traffic. Plain concrete eventually cracks, stains, and flakes off into airborne dust that tracks straight into your home. Deciding between a professional garage floor epoxy service and a boxed DIY kit comes down to whether you want a permanent surface bond or a temporary fix. DIY kits save cash upfront, but professional installations deliver heavy-duty surface preparation, industrial chemical bonds, and long-term durability.
Key Takeaways
- Heavy-Duty Concrete Prep: Industrial grinding opens up concrete pores, whereas DIY acid etching often misses oil-stained spots completely.
- 100% Solids Formulations: Commercial coatings cure thick and hard, while water-based retail kits shrink dramatically as moisture evaporates.
- Moisture Defense System: Professional testing catches hydrostatic pressure issues before liquid resin ever touches your concrete slab.
- Fast Return to Service: Commercial installations cure fast so you get your vehicles back inside without risking hot-tire pickup.
What Does Garage Floor Epoxy Actually Do for Your Concrete?
A heavy-duty epoxy coating seals bare concrete to stop dust, block chemical stains, and resist mechanical damage. It creates a continuous non-porous layer that locks out water, motor oil, and hydraulic fluids. This solid layer makes cleanup effortless with a basic dust mop or mild household detergent.
Beyond looking clean, resinous flooring seals micro-fractures before they expand into structural failures. A proper coating stops road salts and moisture from penetrating the concrete, preventing internal rebar corrosion in humid environments like Florida.
Why Do DIY Epoxy Kits Look So Tempting to Homeowners?
Big-box store kits lure homeowners in with low retail prices and promises of a quick weekend DIY transformation. You pick up a couple of boxes, watch a quick online video, and plan to paint the entire floor on Saturday morning. It feels like an easy way to dodge professional labor charges while managing your own project schedule.
The reality on the ground is that those off-the-shelf boxes contain mostly water or thin solvents instead of pure resin. What goes down thick ends up drying paper-thin, leaving your floor vulnerable to hot tires pulling the paint right off the concrete.
Essential Tasks for a Lasting DIY Floor
- Clean away every drop of grease using industrial degreasers and mechanical scrubbers.
- Repair structural cracks and spalled concrete using two-part epoxy patching compounds.
- Profile the entire slab surface so liquid resin can mechanically key into the concrete.
- Mix resin and hardener components at exact ratios using high-speed mechanical mixers.
- Roll the mixed resin within a strict 20-minute working period before heat buildup ruins the batch.
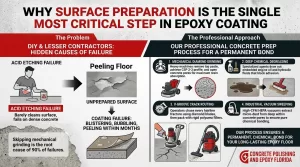
Why Is Surface Preparation the Single Most Critical Step?
Epoxy cannot stick to concrete without a rough surface profile and completely open pores. Acid etching kits inside DIY boxes barely clean the surface and usually fail to penetrate dense, troweled concrete. Professional crews use heavy planetary diamond grinders to vacuum away dust while opening up the concrete matrix for a permanent bond.
Here’s the part most contractors won’t tell you: skipping mechanical grinding is the root cause of 90% of all floor coating failures. If oil stains or old sealers remain beneath your new floor, the coating will blister, bubble, and peel away within months.
Concrete Prep Steps Comparison
- Mechanical Diamond Grinding: Heavy machines remove the top paste layer, profile the slab to CSP 2-3 standards, and open concrete pores for maximum resin absorption.
- Deep Chemical Degreasing: Specialized agents draw out embedded engine oil and hydraulic fluids that block adhesion.
- V-Groove Crack Routing: Operators chase every hairline fracture using diamond blades before packing them with rigid polyurea fillers.
- Industrial Vacuum Sweeping: High-CFM HEPA vacuums extract micro-dust from deep within concrete pores to ensure pure chemical bonding.
Get a Free Epoxy Flooring Estimate
Speak with Our Team! Call Now!
How Much Time Does a Professional Floor Coating Really Save You?
Hiring a professional team saves you 3 to 5 days of backbreaking manual labor. DIY projects drag on through endless prep work, acid drying delays, precise mixing, and slow product cure cycles. Professional installers complete diamond grinding, crack repairs, base coats, flake broadcasts, and clear topcoats efficiently within 24 to 48 hours.
Homeowners frequently underestimate how inconvenient it is to clear out a garage. Parking cars on the street and leaving expensive tools out on the lawn during a drawn-out cure cycle creates a major headache.
Vehicle & Storage Logistics
- Parking work trucks and family cars out on driveway aprons during unpredictable rainstorms.
- Storing lawnmowers, pressure washers, and tool chests under temporary tarps.
- Sacrificing prime weekend hours to scrub concrete floors on your hands and knees.
Technical Prep & Cure Timelines
- Waiting 48 full hours for damp, acid-etched concrete to dry out completely.
- Sweeping up loose decorative paint flakes without tracking dirt across fresh basecoats.
- Respecting strict 7-day cure times before parking heavy trucks on store-bought coatings.
What Makes Professional Results Look and Perform So Much Better?
Professional crews deliver smooth, level surfaces with even color chip density and durable topcoats. DIY applications often leave roller marks, thin patches, and bald spots where flakes were scattered unevenly. Experienced contractors know how temperature, humidity, and concrete moisture affect cure times, avoiding sticky floors and cloudy finishes.
An expert floor technician inspects your concrete slab for hidden moisture and structural problems before opening a single bucket. If moisture levels are high, they apply specialized epoxy vapor barriers to stop hydrostatic pressure from pushing the coating off the floor.
Are DIY Garage Floor Epoxy Kits Actually Cheaper in the Long Run?
DIY kits seem cheap at first, but hidden tool rentals and early floor failure quickly erase those savings. Once you rent concrete grinders, buy diamond blades, purchase mixing tools, and buy crack fillers, your total material costs jump significantly. If the thin coating flakes off in six months, renting floor scarifiers to scrape off failed resin doubles your overall investment.
| Feature or Cost Factor | DIY Store-Bought Kits | Professional Garage Floor Epoxy Service |
| Coating Thickness | 2 to 4 mils (Thins out as water evaporates) | 20 to 30+ mils (100% solid build) |
| Surface Prep Method | Mild citric/muriatic acid wash | Heavy industrial diamond grinding |
| Hot-Tire Resistance | Low (Tires pull paint off slab easily) | Extreme (Chemical resin bond) |
| Required Equipment | Plastic watering cans, cheap rollers, stiff brooms | Planetary grinders, HEPA vacuums, spiked shoes |
| Expected Lifespan | 1 to 3 years before peeling | 15 to 20+ years under heavy vehicle traffic |
| Failure Recovery Cost | High (Requires complete mechanical stripping) | Low (Covered by installer warranties) |
When Does Doing the Floor Yourself Make Practical Sense?
DIY kits make sense if you are on a tight budget and enjoy hands-on home projects. If your slab is young, crack-free, never contaminated with oil, and you have the time to prep it, a DIY kit can be a fun weekend project.
- Accept minor imperfections like roller lines, uneven flake patterns, and thin spots.
- Buy professional-grade degreasers and rent a mechanical floor buffer with sanding discs.
- Mix two-part resins carefully, keeping a close eye on the pot-life clock.
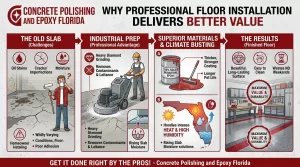
Why Professional Floor Installation Delivers Better Value
Choosing a professional garage floor epoxy service makes sense when you want a beautiful, long-lasting garage floor without wasting your entire weekend. Concrete Slabs vary wildly depending on their age, finishing style, and history of oil leaks. Professional installers bring heavy diamond grinders and industrial 100% solids epoxy to transform tough, stained concrete into a strong, smooth surface.
Concrete Polishing and Epoxy Florida handles Florida’s intense heat, high humidity, and rising slab moisture with proven industrial prep methods and heavy-duty coatings.
Get a Free Epoxy Flooring Estimate
Speak with Our Team! Call Now!
What Should Florida Homeowners Watch Out For?
Florida’s extreme climate creates unique challenges for liquid resin coatings. High humidity, afternoon downpours, and wet concrete slabs ruin DIY installations that lack proper moisture testing and vapor barriers.
- Slab Moisture Vapor: Moisture pushing up through the concrete slab pops store-bought paint right off the floor.
- Ambient Humidity Levels: High air moisture interferes with epoxy curing, leaving the finish sticky or cloudy.
- Hot-Tire Pick-Up: Sun-baked tires pull thin, water-based coatings off the concrete when you park inside.
- UV Light Exposure: Direct sunlight near garage doors yellow clear topcoats unless protected by UV-stable coatings.
Expert Tips for a Long-Lasting Garage Floor
Real Talk on Floor Prep
Here is the truth: applying epoxy without mechanical diamond grinding is like painting over rust. Acid etching washes off surface dirt, but it cannot create the deep roughness required for heavy vehicle traffic. Investing in proper surface preparation upfront saves thousands of dollars in stripped coatings down the road.
Practical Checklist: Which Epoxy Route Is Right for You?
Choose DIY Installation If:
- You want to keep initial material costs as low as possible.
- You have experience running floor sanders and handling chemical resins.
- Your concrete slab is clean, crack-free, and free of moisture problems.
- You do not mind re-coating high-traffic zones every few years.
Choose Professional Service If:
- You want a rock-solid floor built for heavy trucks and floor jacks.
- Your slab has deep oil stains, pitting, or structural cracks that need repairs.
- You want to complete the installation fast without renting heavy tools.
- You want long-term warranty protection for your investment.
Ready for a Garage Floor Built to Last?
Upgrading your garage with a commercial-grade coating protects your concrete while turning a dirty space into a clean, functional workspace. Choosing Concrete Polishing and Epoxy Florida means getting experienced surface prep, high-solids floor coatings, and a smooth, attractive finish built for tough vehicle traffic. Call Concrete Polishing and Epoxy Florida today to schedule your slab inspection and receive a free quote on your garage floor epoxy service.
Frequently Asked Questions
Q: Is DIY garage floor epoxy worth the effort?
A: DIY epoxy works fine if you have concrete tools, time for surface prep, and realistic expectations. However, store-bought kits wear out fast under heavy vehicle traffic, making professional installations a better long-term value.
Q: How long does a professional epoxy garage floor last?
A: A professionally installed epoxy floor lasts 15 to 20 years or more with simple routine cleaning. The industrial diamond grinding, thick solids basecoat, and protective polyaspartic topcoat stop peeling and tire pickup.
Q: Can epoxy resin be applied directly over smooth concrete?
A: No, liquid epoxy should never be applied directly to smooth or un-sanded concrete. The surface must be diamond-ground or etched to open the concrete pores so the resin can lock into the slab.
Q: Is professional garage floor installation better than a retail kit?
A: Professional services offer heavy-duty surface prep, 100% solids materials, thick flake coverage, and reliable warranty protection. Boxed DIY kits use thin water-based paints that peel away quickly under hot tires.
Q: How long should I wait before driving on new epoxy coatings?
A: You can walk on new commercial coatings within 24 hours, but vehicles should stay off for 3 to 7 days depending on temperatures. Your installer will provide clear guidelines for your specific coating system.
Recent Posts